Emergency Roof Leak Fix: What to Do Right Now
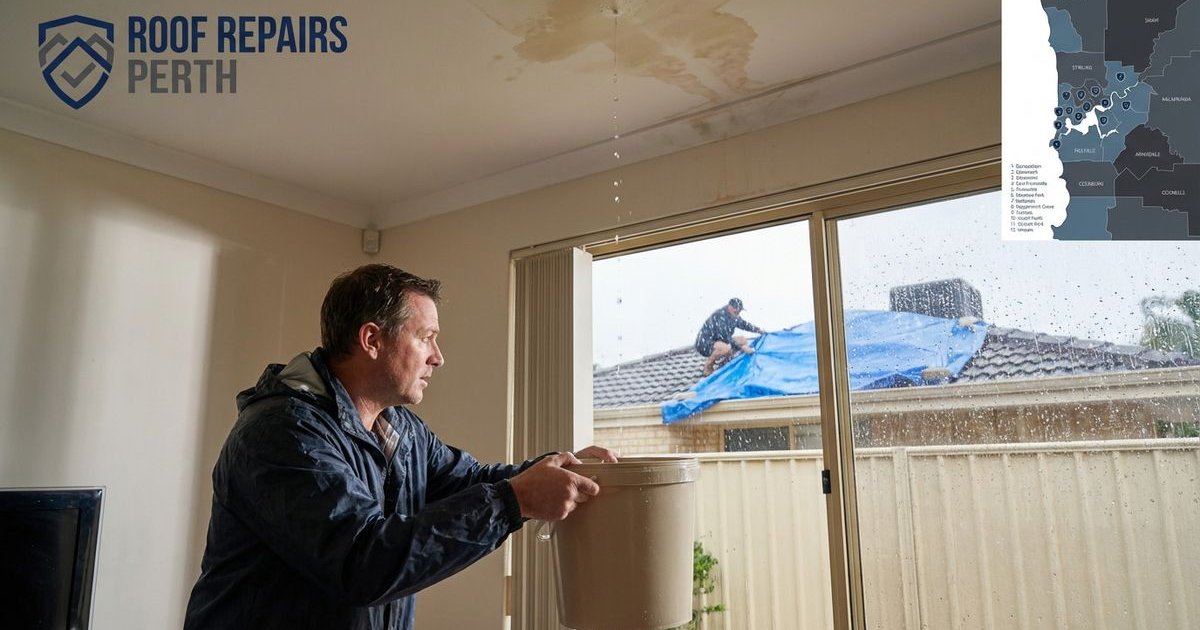
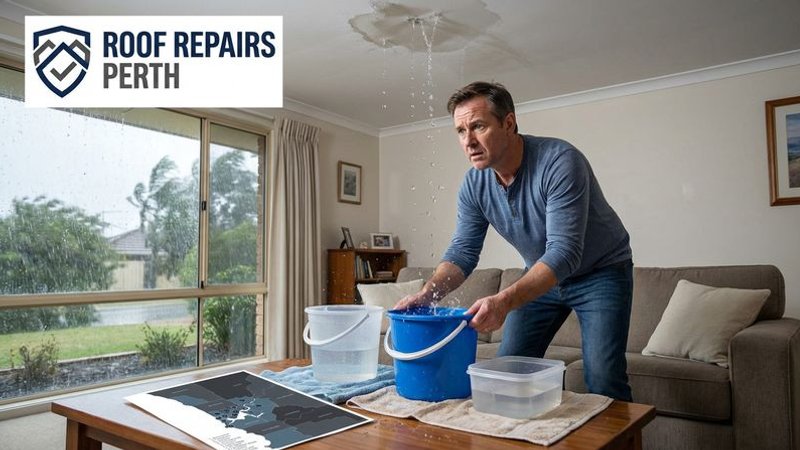
A roof leak during a Perth winter storm hits fast. One minute you are watching the rain, and the next you have water dripping onto your floor. I know the feeling of panic that sets in, but from my experience in the industry, the biggest mistake homeowners make is rushing into a dangerous fix rather than managing the immediate risk.
The reality is that most water damage happens in the hours after the leak starts. If you can control the water flow and protect your valuables now, you turn a potential disaster into a manageable repair job.
This guide outlines the exact temporary steps you can take to stop the damage spreading. I will walk you through how to contain the water, relieve ceiling pressure, and apply a temporary patch until a professional roofer can arrive.
Step 1: Contain the Water
Your first goal is to stop the water from migrating. Water spreads quickly across ceilings and down walls, and once it soaks into carpets or drywall, the clock starts ticking on secondary issues like mould.
According to WA Health, mould can begin to grow on damp surfaces within 24 to 48 hours in humid conditions. You need to act fast to keep the area dry.
- Capture the flow immediately. Place your largest containers directly under the drip. A standard 9-litre bucket fills faster than you think during a heavy downpour, so use a plastic storage tub or a wheelie bin liner inside a laundry basket if you have one.
- Protect your flooring. Lay old towels or a drop sheet around the catch containers to handle splashing. If you have timber floors, this is critical to prevent warping.
- Clear the room. Move furniture, electronics, and rugs into a dry room. Even if the water hasn’t touched them yet, the humidity in a closed, wet room can damage sensitive electronics.
- Dry the air. If the power is safe to use, run a dehumidifier or air conditioner on “dry” mode immediately. If you have no power, place moisture-absorbing tubs (like DampRid or Hippo) in the room to pull moisture from the air.
Step 2: Relieve Ceiling Pressure
A bulging ceiling is a structural emergency. Standard 10mm plasterboard acts like a sponge and loses its strength when wet. If you see a sag or bubble forming in the paint, it means water is pooling on top of the ceiling sheet.
A ceiling collapse can dump insulation and debris into your living room. You must release this water in a controlled way before gravity does it for you.
How to drain a ceiling bulge safely:
- Isolate the power. Before you do anything, go to your switchboard and turn off the electricity to the affected lighting circuit. Water travels along wiring, and you must assume the area is live.
- Position your catch bucket. Place a large, empty bucket directly under the centre of the bulge.
- Puncture the bulge. Stand on a sturdy chair or ladder to the side of the bulge (never directly under it). Use a screwdriver or a sharp pencil to poke a small hole in the lowest point of the sag.
- Let it drain. The water will flow out into your bucket. This releases the weight and often saves the ceiling sheet from needing total replacement later.
Safety Warning: If the ceiling is already sagging more than 50mm or you hear creaking sounds, do not go under it. The structure may be compromised. Evacuate the room and call the SES on 132 500.
Step 3: Apply a Temporary Patch from Inside
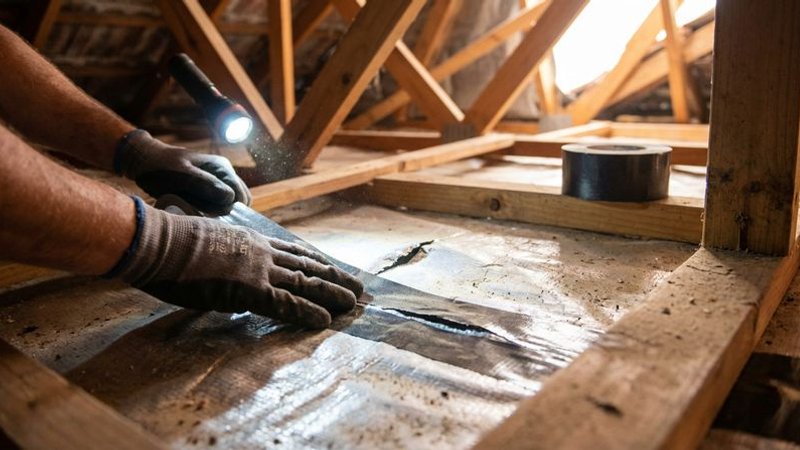
If you can safely access your roof cavity through the manhole, you might be able to stop the leak at the source without ever stepping outside. This is the safest way to patch a roof during a storm.
You will need a torch and a temporary patching product. I recommend keeping a specific “roof repair kit” handy for storm season.
Choosing the Right Patching Tool
Different leaks require different quick fixes. Here is a comparison of common products you can find at local hardware stores like Bunnings to help you choose:
| Product Type | Best For | Insider Tip |
|---|---|---|
| Waterproof Patch Tape (e.g., Gorilla, T-Rex) | Large cracks or holes in sarking | These tapes often stick even if the surface is slightly wet. Press down firmly to activate the adhesive bond. |
| Bituminous Flashing Tape (e.g., Grunt, Selleys) | Sealing gaps around vents or chimneys | This tape is messy and sticky. Wear disposable gloves because the bitumen is hard to clean off your hands. |
| Roof & Gutter Silicone (e.g., Selleys Storm Sealant) | Small cracks or split tiles | Look for “wet area” or “storm” specific sealants that cure even in damp conditions. |
How to Apply the Patch
- Locate the entry point. Shine your torch along the underside of the roof tiles or metal sheets. Water often runs down rafters, so the drip point might be lower than the actual hole. Trace the water trail up to the highest wet point.
- Prep the surface. Wipe away loose dust or spiderwebs with a dry rag. The cleaner the surface, the better your tape will stick.
- Apply the seal. If using tape, cut a piece 50mm longer than the crack on both sides. Apply it over the gap and rub it down aggressively to push out air bubbles. If using sealant, fill the crack generously and smooth it over with a gloved finger to ensure a watertight seal.
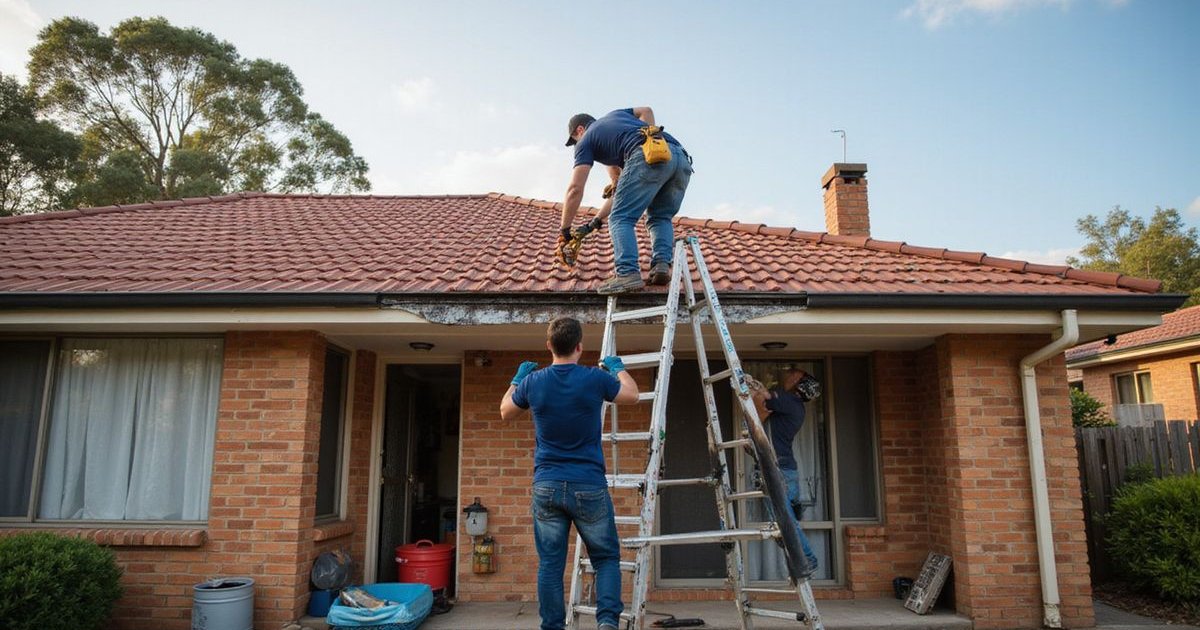
Step 4: Exterior Temporary Measures (Only If Safe)
Strict Safety Rule: Do not climb onto a wet roof. Moss, wet metal, and painted tiles become ice-rink slippery when wet. A fall from a roof is a leading cause of hospitalisation in Australia. Only attempt these steps if the rain has stopped and the roof is dry, or if you can reach the area safely from a ladder without stepping onto the roof itself.
The Tarpaulin Method
A tarp is the most reliable way to cover a large damaged area. However, a standard camping tarp will rip to shreds in a Perth squall. You need a Heavy Duty Tarp with a thickness of at least 200 GSM (grams per square metre).
- Size it right. Unfold the tarp to ensure it extends at least one metre past the damage on all sides.
- Over the ridge. Drape the top edge of the tarp over the ridge (the peak) of the roof. This prevents water from running under the top edge of your tarp.
- Weight it down. Secure the edges with sandbags or heavy timber.
- Pro Tip: Do not use bricks. Bricks have a low friction point and can slide off metal roofs, becoming dangerous projectiles. Sandbags grip the surface much better.
- Pro Tip: Do not nail through the tarp unless you plan to replace those sheets or tiles later. Every nail hole is a future leak.
Repositioning Slipped Tiles
Sometimes a strong wind gust will lift a tile and leave it sitting crookedly. If you can see a gap:
- Use a long stick or a broom handle from the safety of your ladder to gently nudge the tile back into place.
- If the tile is broken, do not try to glue it. Slide a piece of sheet metal or a sturdy plastic sheet under the tile above it to cover the gap until a roofer arrives.
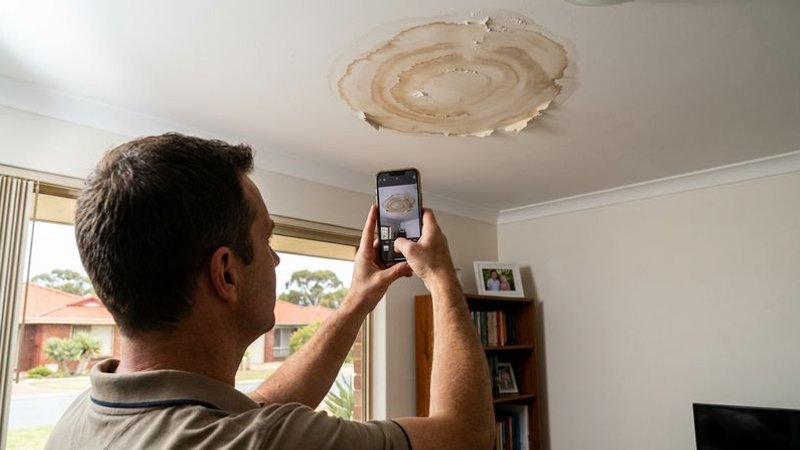
Step 5: Document Everything for Insurance
Most Australian home insurance policies cover “storm damage,” but they often exclude damage caused by “lack of maintenance.” The line between the two can be blurry. Your best defence is clear evidence that this was a specific weather event.
- Record the time. Note the exact time the leak started. You can cross-reference this later with Bureau of Meteorology (BOM) data to prove a storm was active in your suburb.
- Take video, not just photos. Walk through the house and video the active leak, the water in the buckets, and the exterior weather conditions. Video captures the intensity of the water ingress better than still photos.
- Keep the damaged parts. If a piece of cornice falls off or you remove soaked insulation, do not throw it in the bin yet. Keep it in a pile for the assessor to see.
- Log your repairs. Write down exactly what you did (e.g., “Applied silicone to cracked tile at 2 PM”). This helps the roofer know what needs to be undone to perform the permanent fix.
What Not to Do
- Do not ignore “minor” drips. A slow drip can rot timber framing over weeks without you noticing. If water is getting in, it needs fixing.
- Do not use permanent glue. Avoid using liquid nails or harsh construction adhesives for temporary patches. These can damage the roofing material so badly that a simple tile replacement turns into a major repair.
- Do not rely on the temporary fix. Tape and silicone will degrade under the Australian sun. They are designed to last weeks, not years.
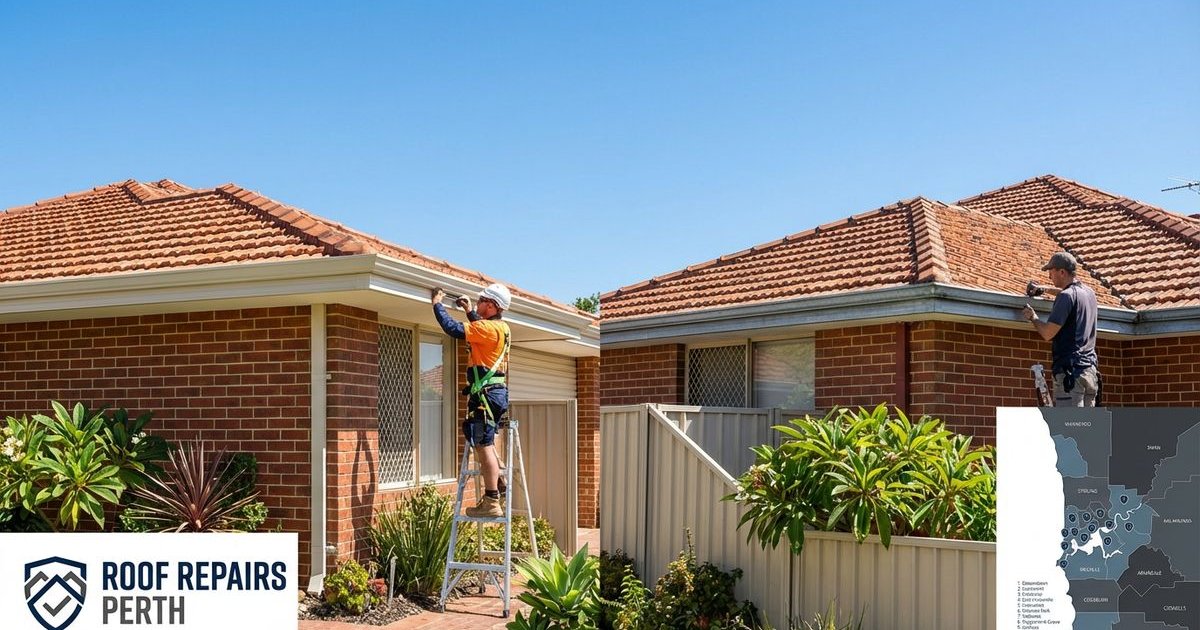
When to Call for Emergency Help
You should call the SES (State Emergency Service) on 132 500 if the situation becomes life-threatening or structurally critical. This includes:
- Major structural damage (e.g., a tree has fallen through the roof).
- The ceiling has collapsed or is bowing significantly across a large room.
- Water is streaming directly over electrical switchboards or fuse boxes.
For standard leaks that are contained but need urgent professional repair, private roofing companies offer emergency call-out services. They can install professional-grade tarps and make safe temporary repairs that insurers will recognise.
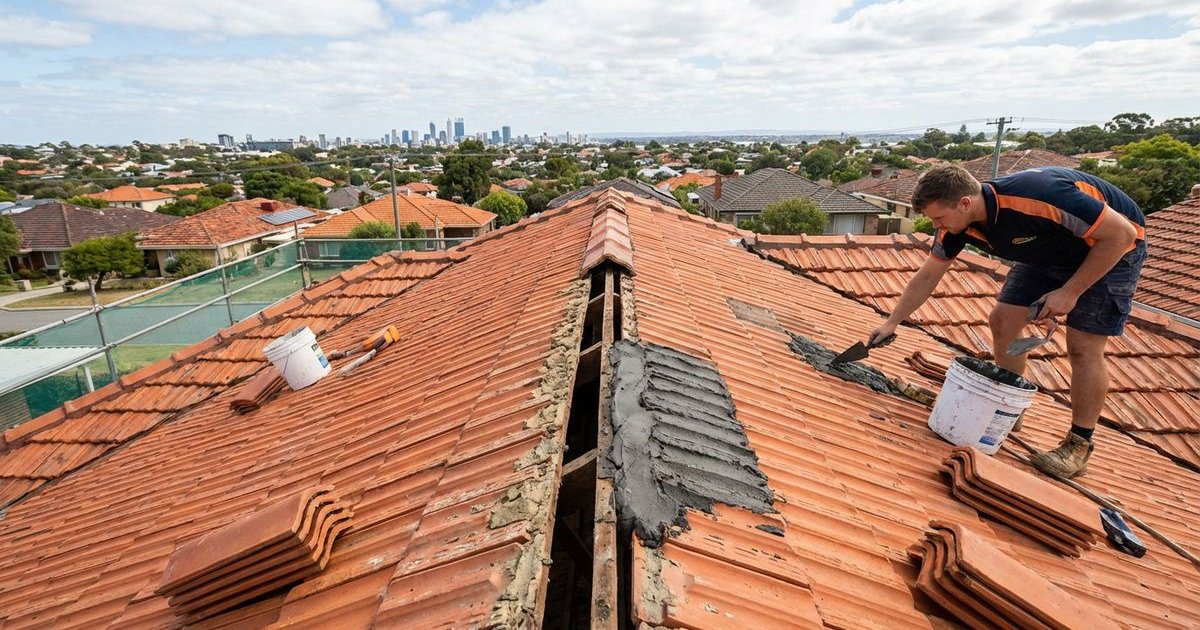
Get a Permanent Fix
Once the storm passes, you need to book a full inspection. A professional roofer will trace the leak to its origin, which is often far away from where the water appeared on your ceiling. Our team can remove your temporary patches, assess the underlying timber for water damage, and provide a lasting solution.
Do not wait for the next rain forecast to act. Get in touch today to secure your booking before the schedule fills up.
Need Help with Your Roof?
Get a free inspection and quote from Perth's trusted roof repair specialists. No call-out fee.